I decided to try the new Elegoo Centauri Carbon, which is marketed as a very user-friendly 3D printer. I’m really impressed. A few years ago, 3D printing was complicated, requiring you to assemble the printer, learn complex software, and deal with support structures. Now, it’s become much more accessible to everyone. It’s so simple that my wife, who has no prior 3D printing experience, is the one that’s mostly using it now.
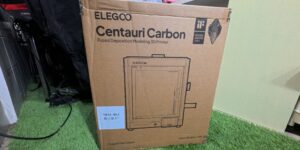
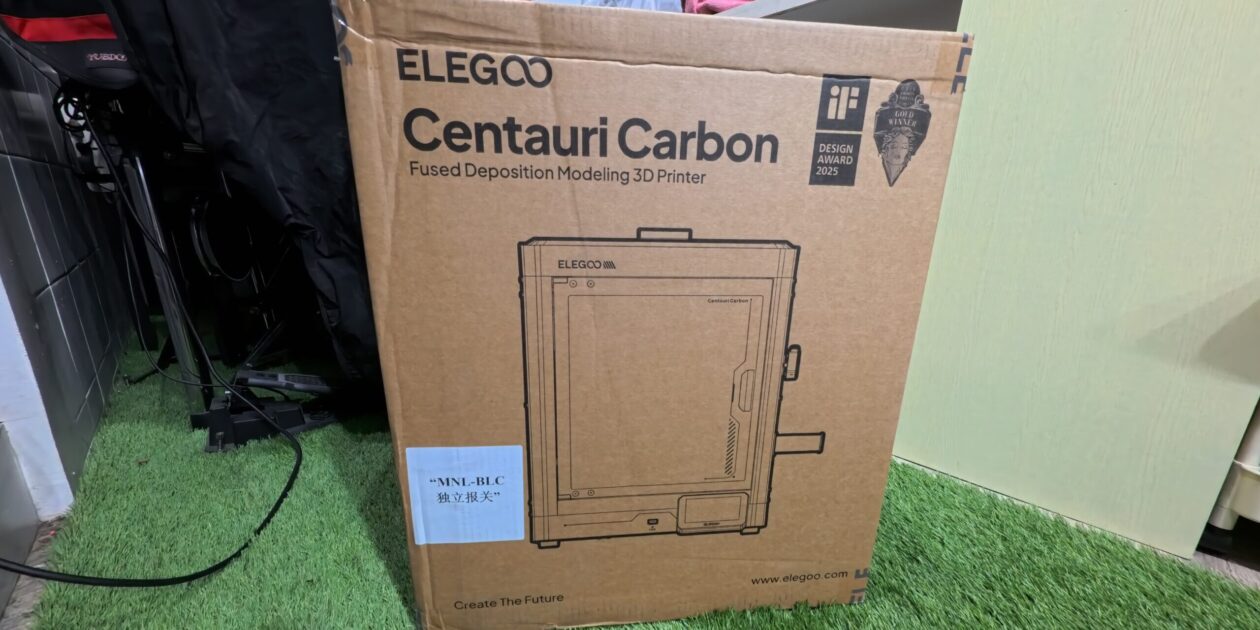
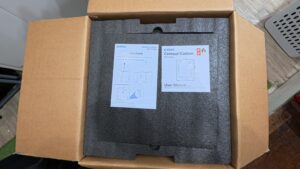
So let me share my unboxing experience with some blurry photos, some simple assembly, and my first 3D Print. The entire package comes in a relatively large box with clear Elegoo Branding and a graphic of the Centauri Carbon.

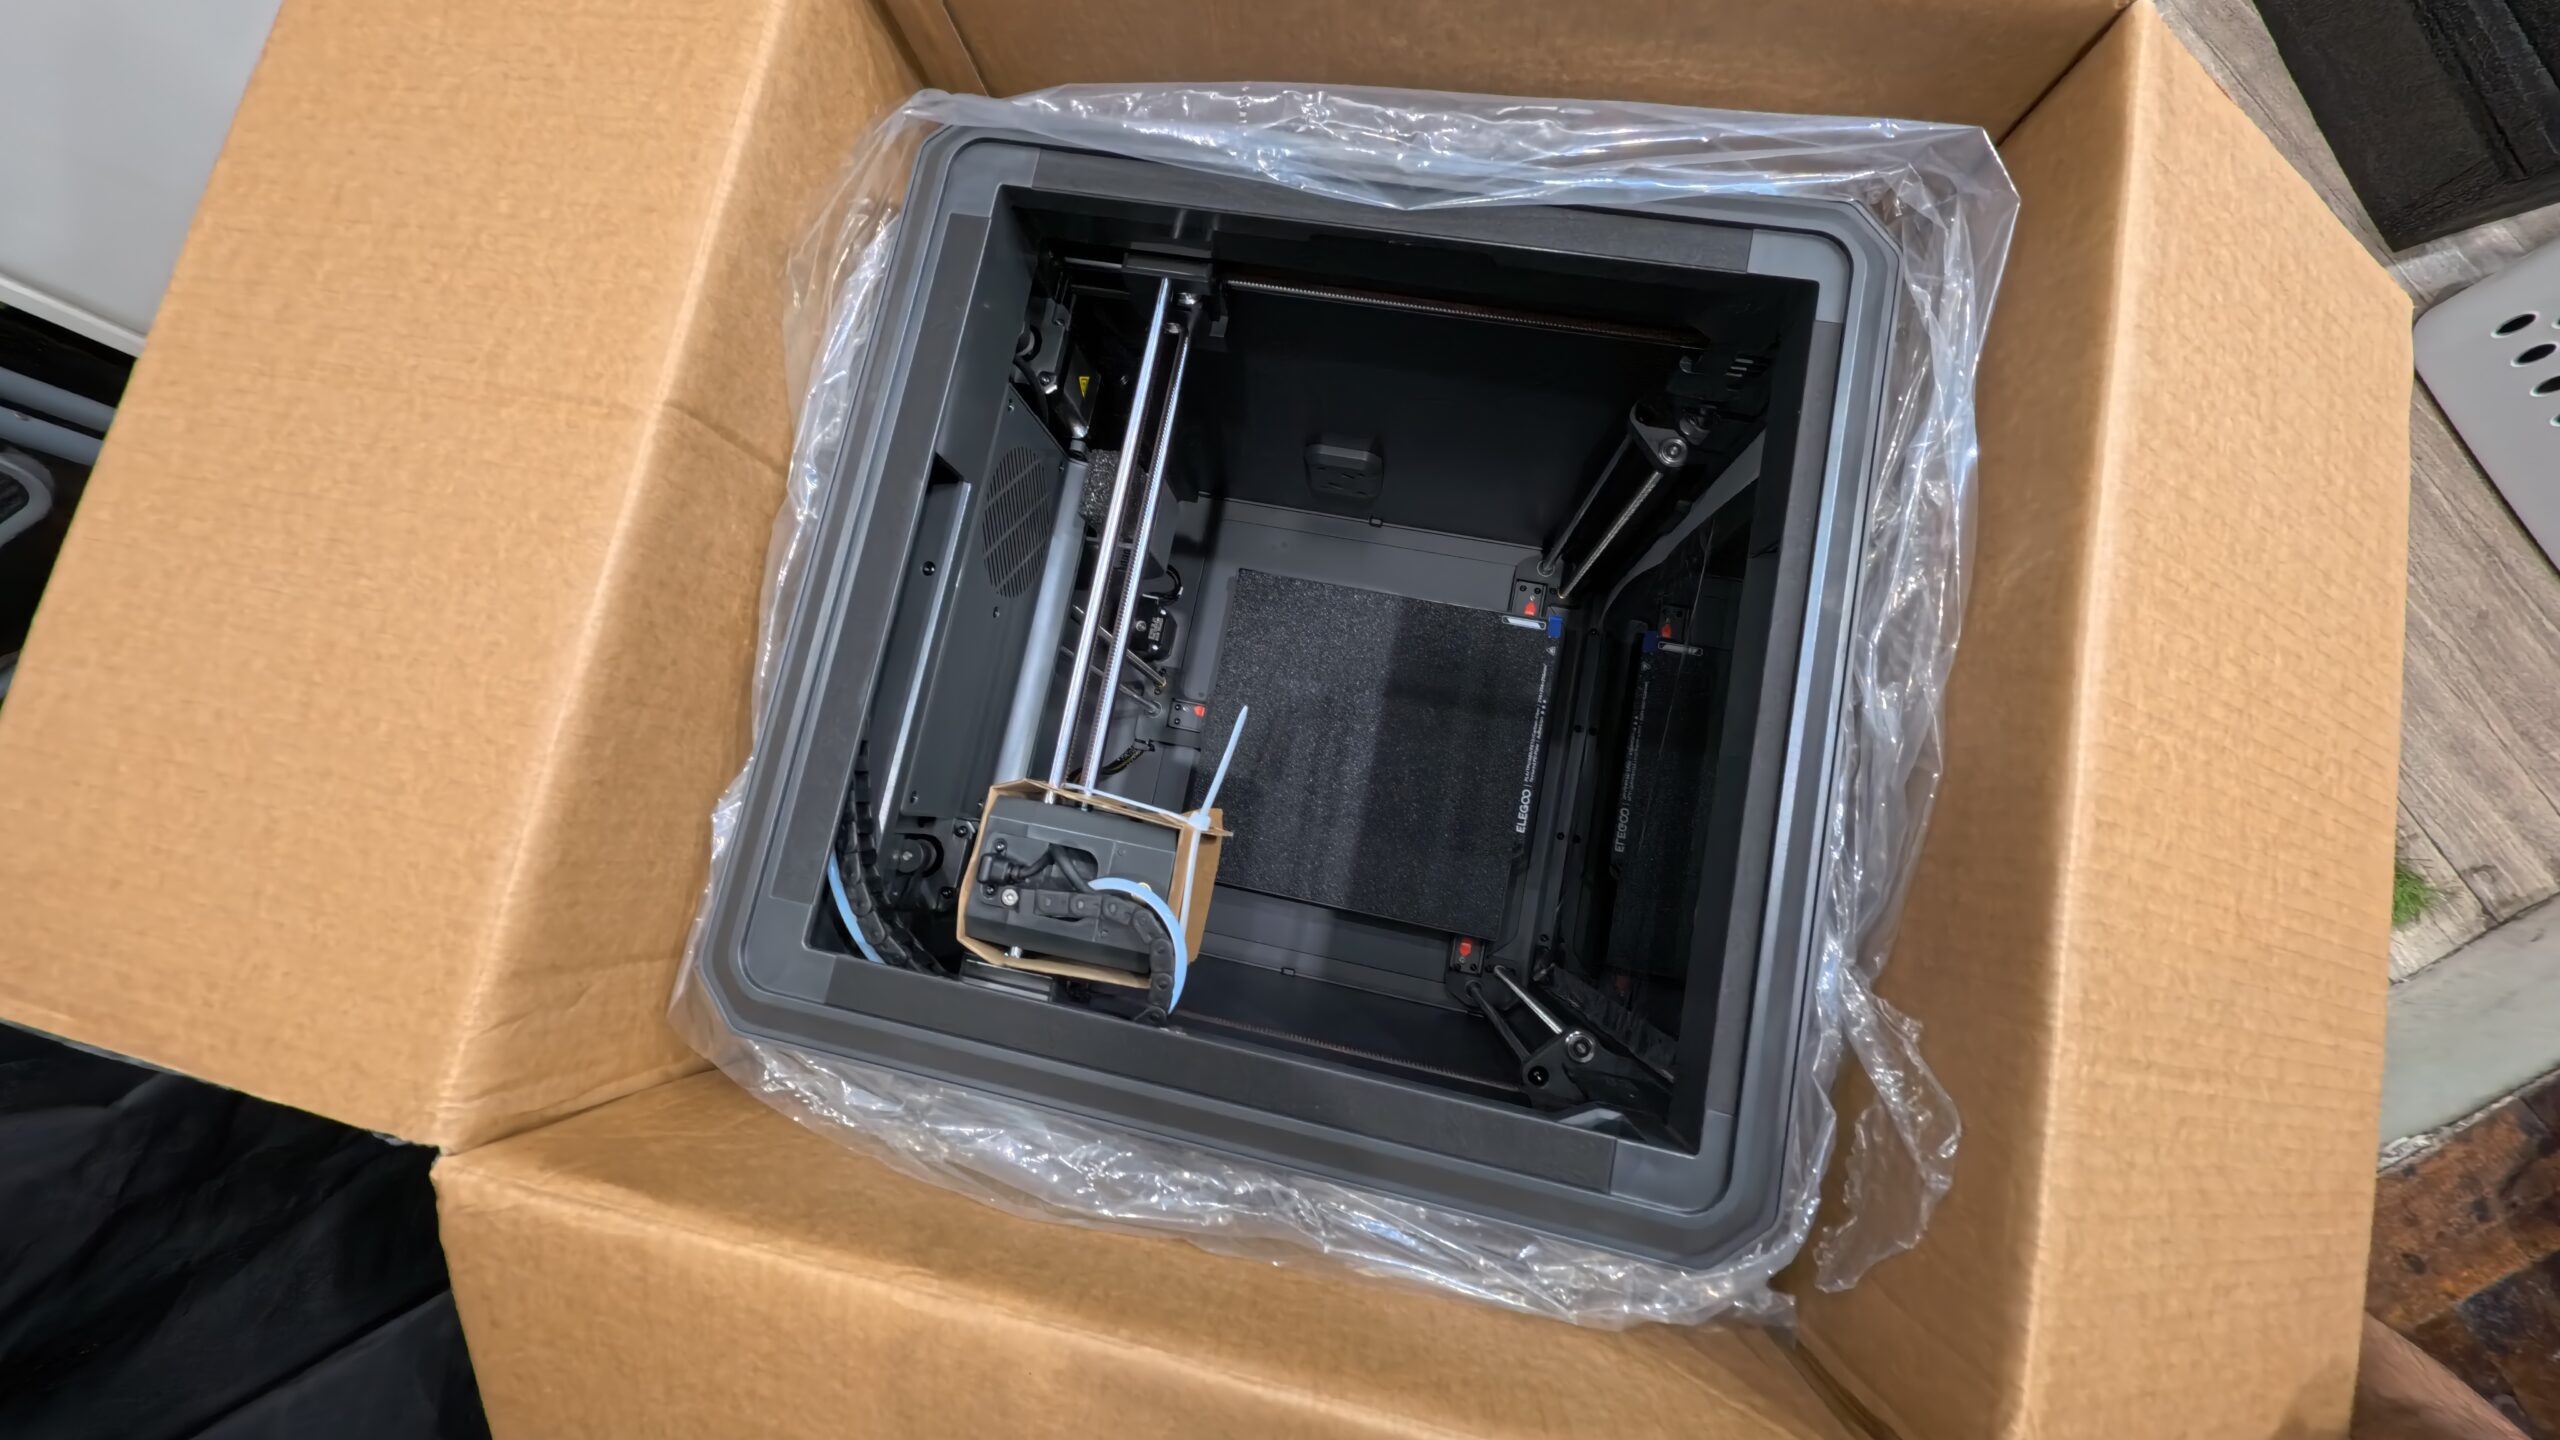
Opening the box reveals the glass cover which is covered by protective foam. Under the glass cover is all the screen and all the other tools required for assembly.
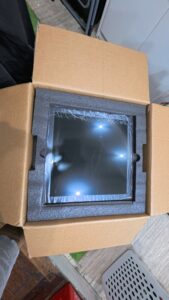


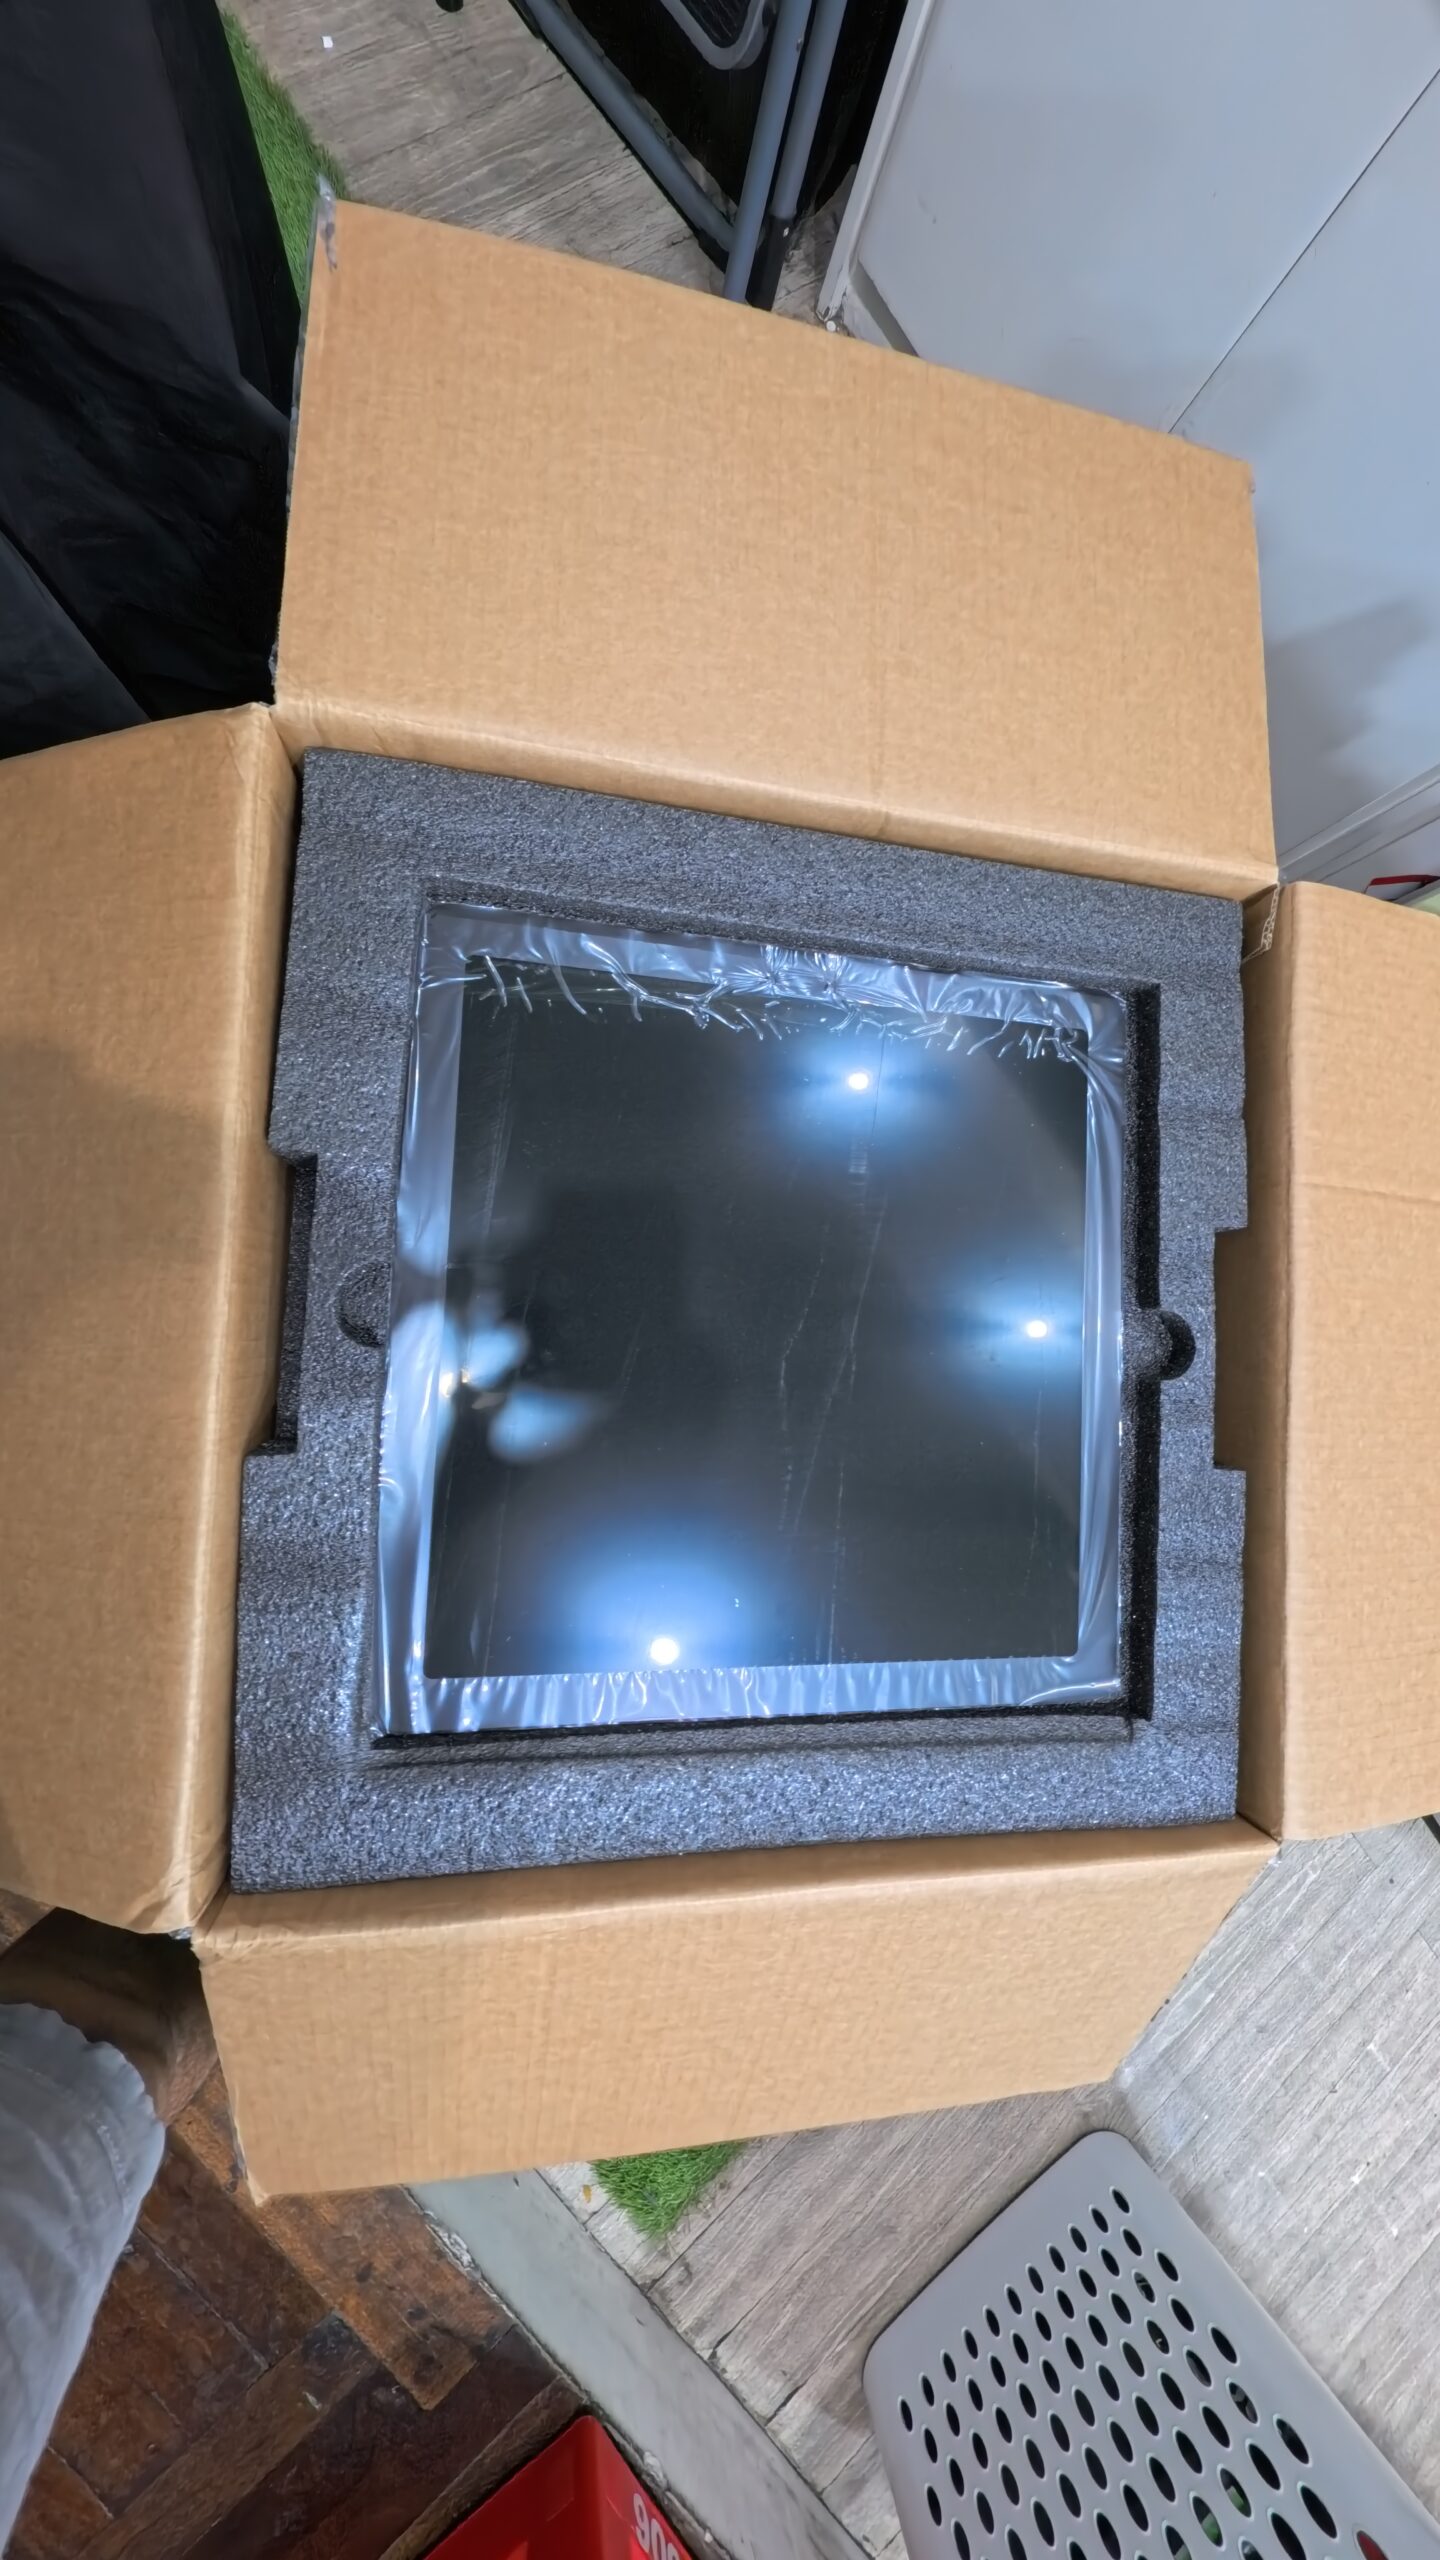


I think the most challenging part about all this is actually lifting the main body off the box as it’s surrounded by foam. Which isn’t necessarily a bad thing as it means the printer itself is protected from any shaking and parts getting dislodged or breaking inside.


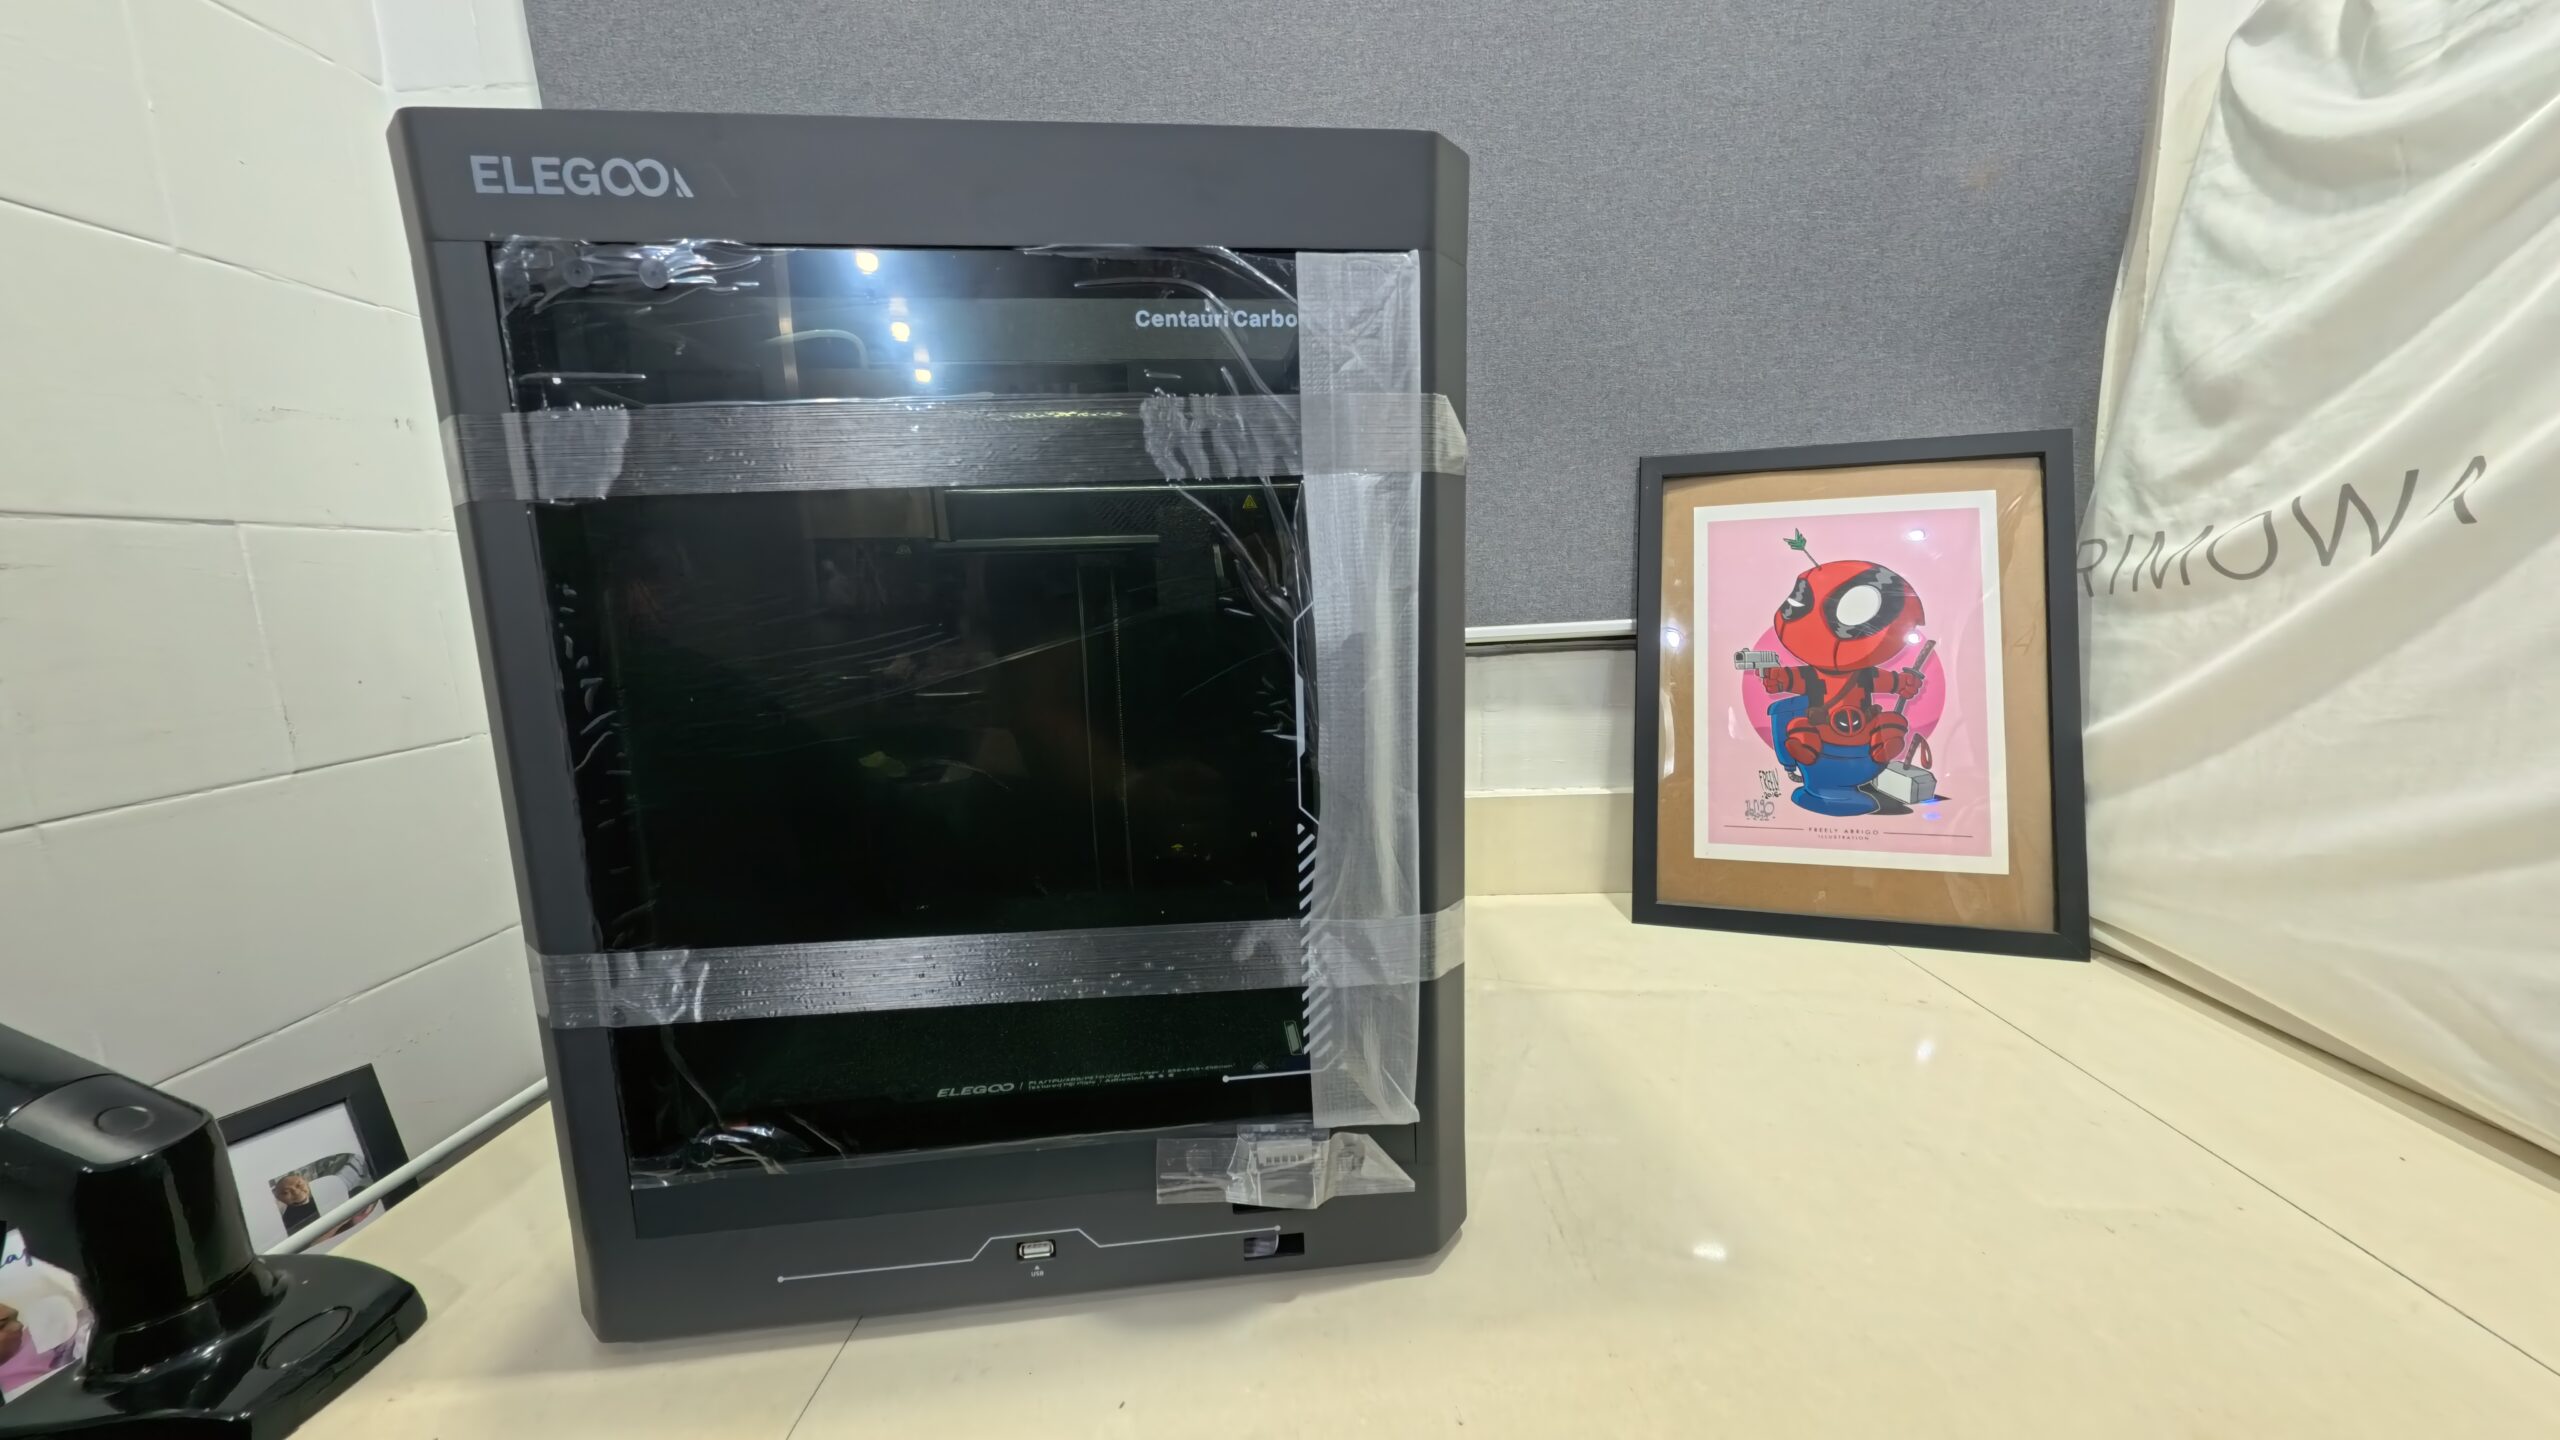
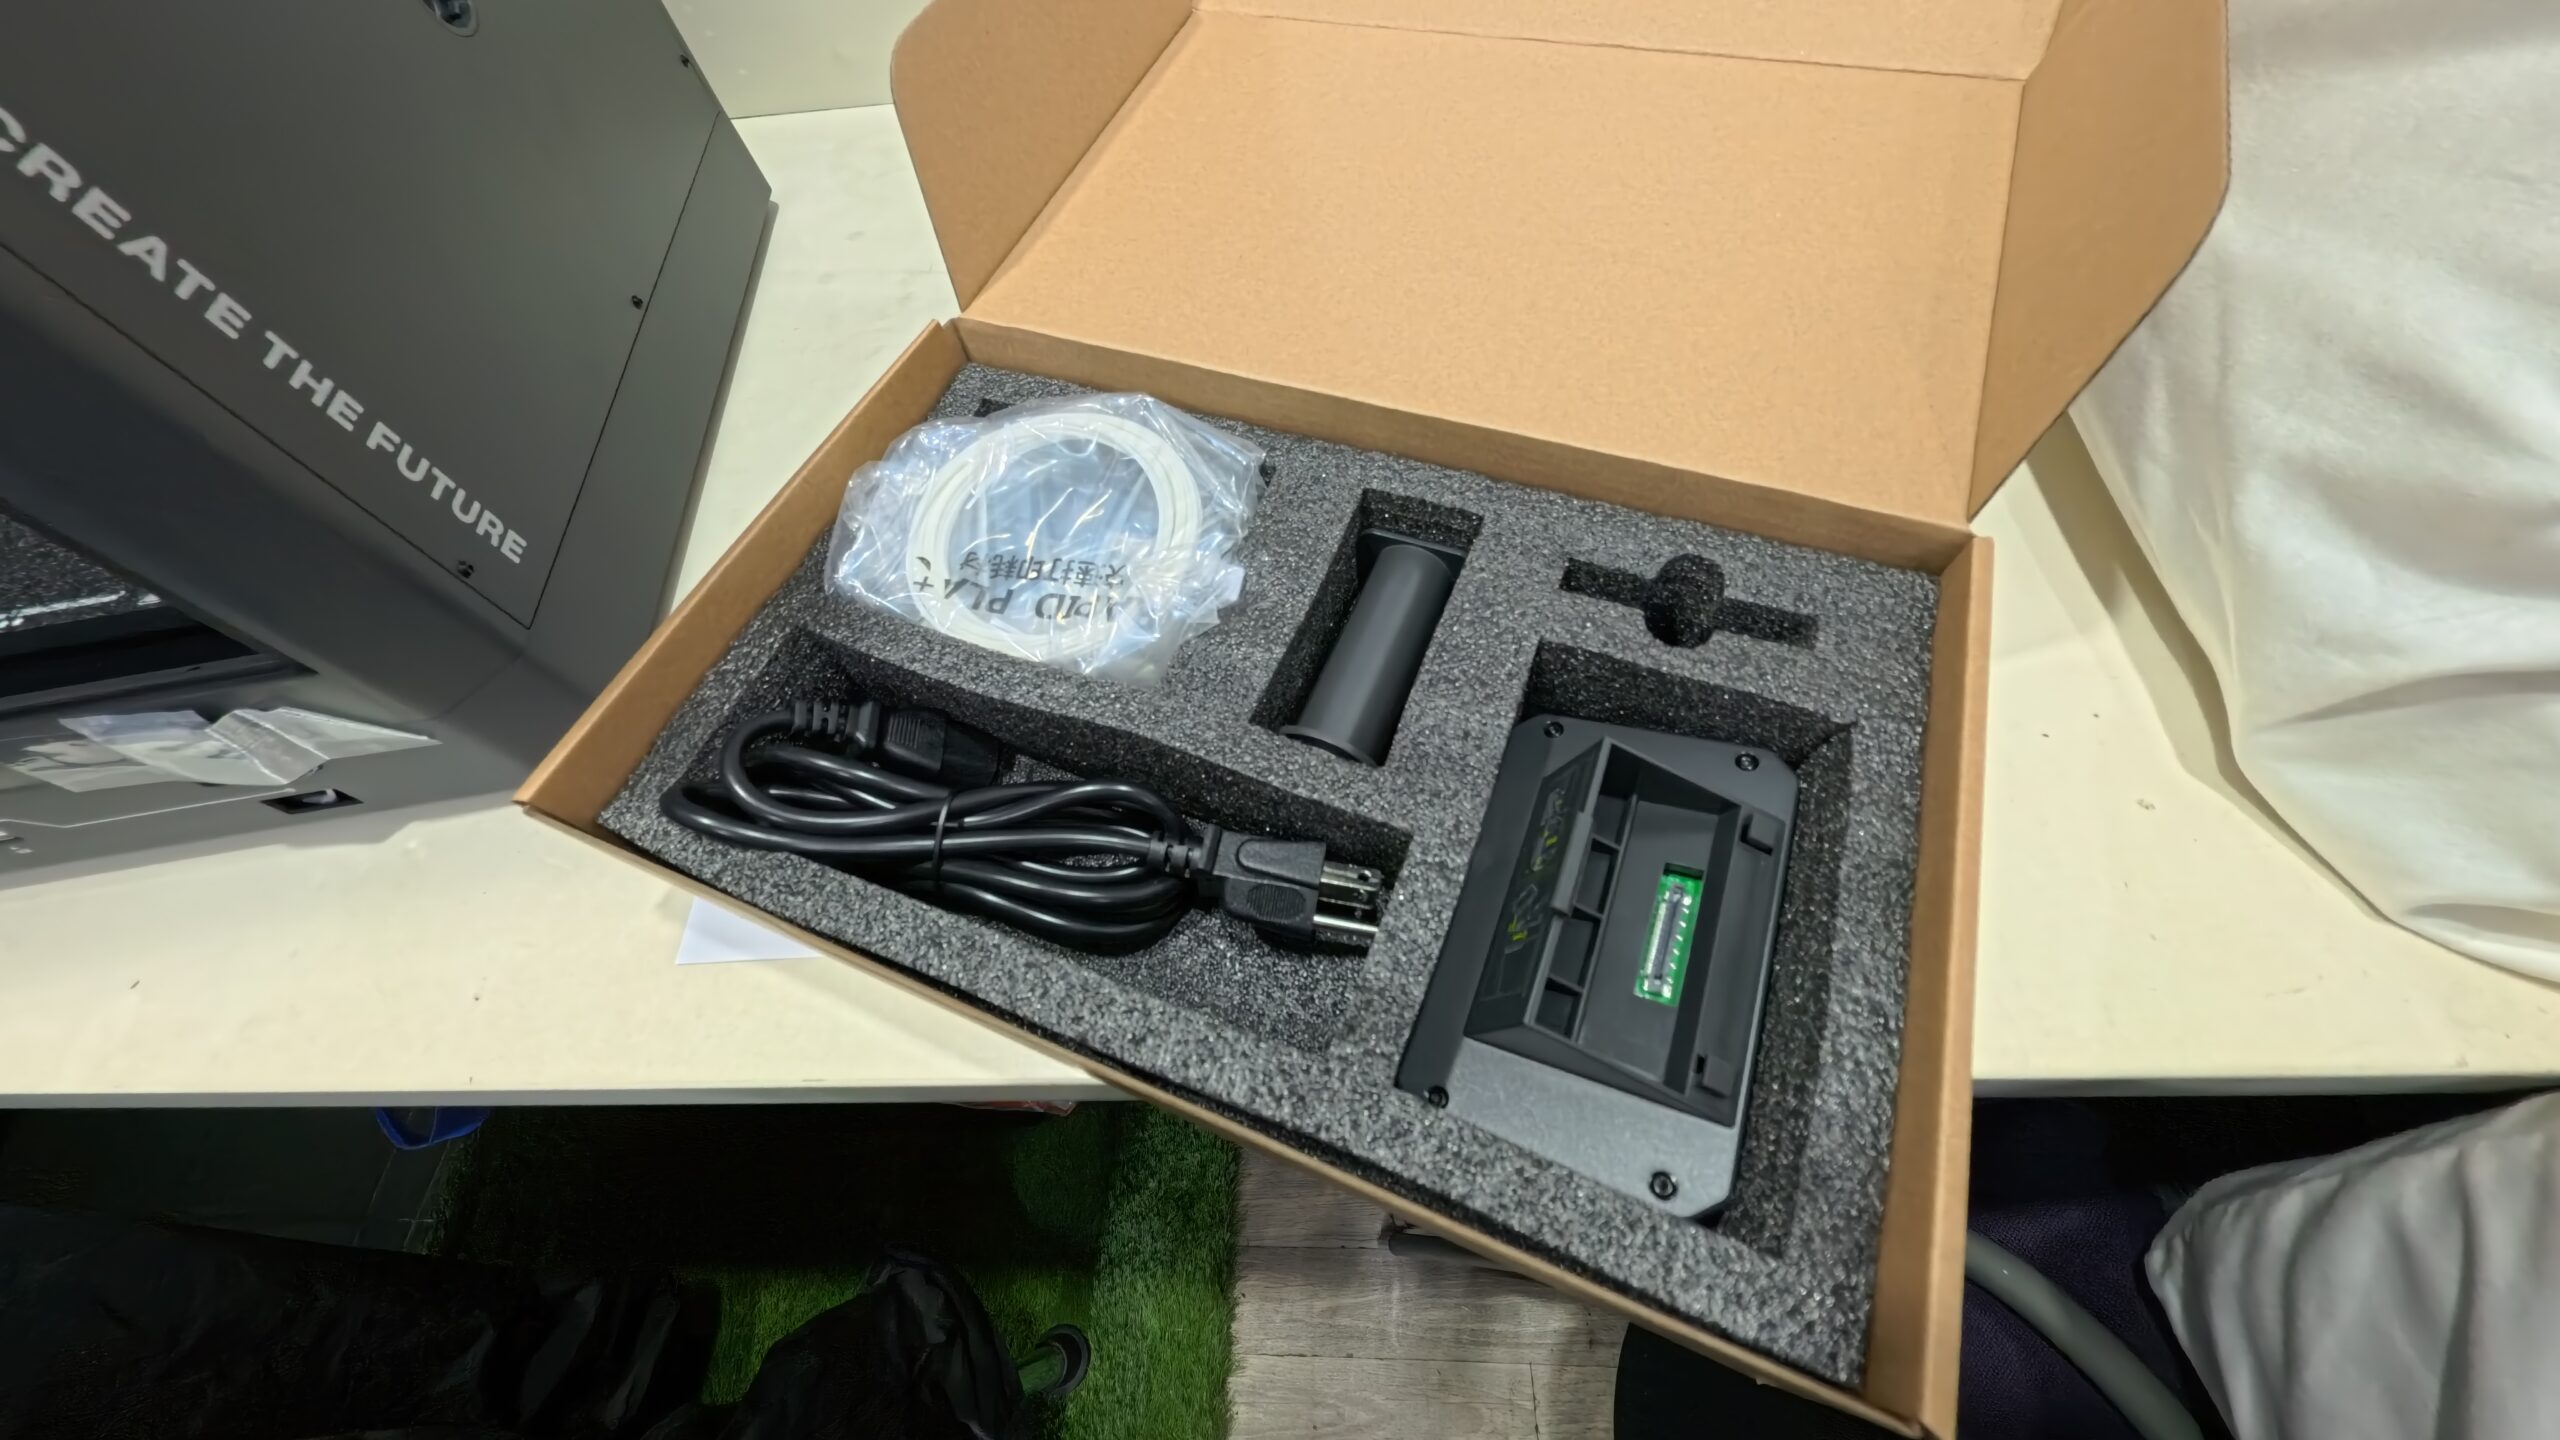
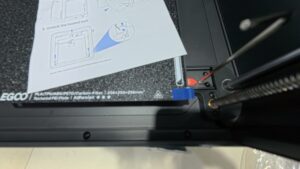
After all that heavy lifting, the next thing to do is just remove protective tape and follow some basic instructions. Removing screws and some zip ties seem simple enough. I’m really glad that somebody from Elegoo put a lot of effort into thinking of ways to ship this product safely and make sure that all we have to do is remove plastic and some screws. Old 3d printers would have us actually build the printer like we were actually working in the factory.


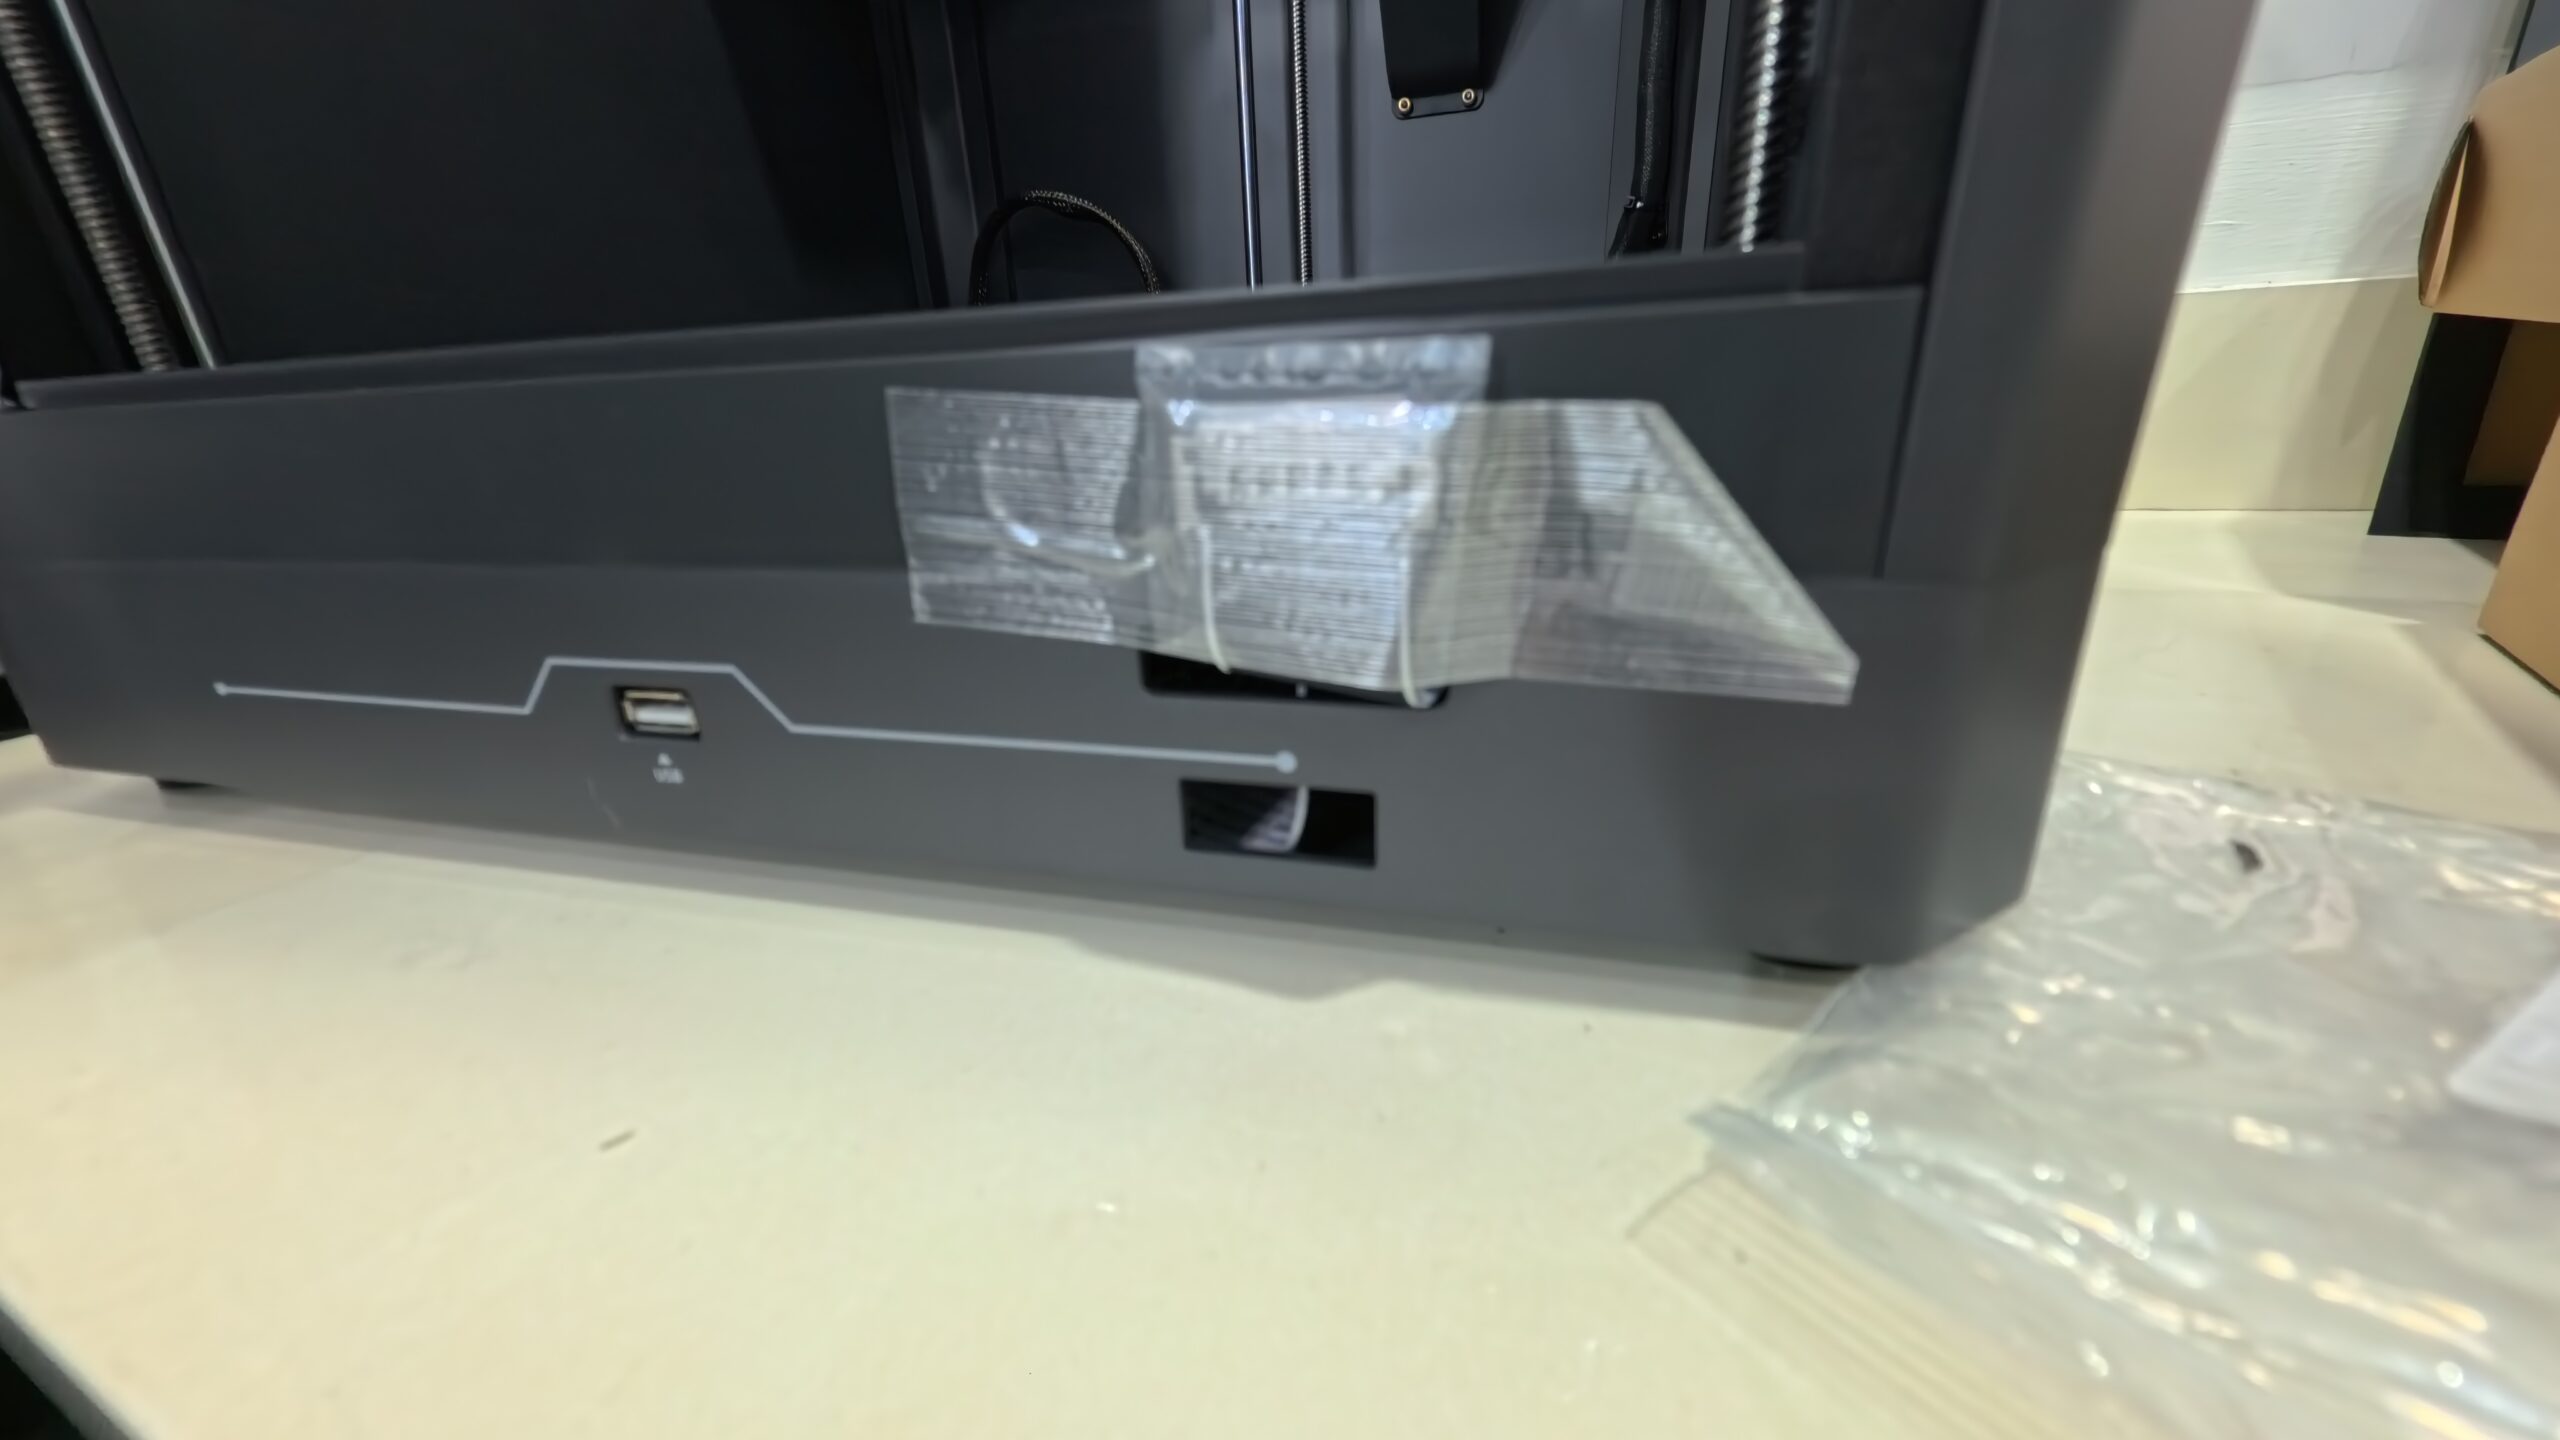
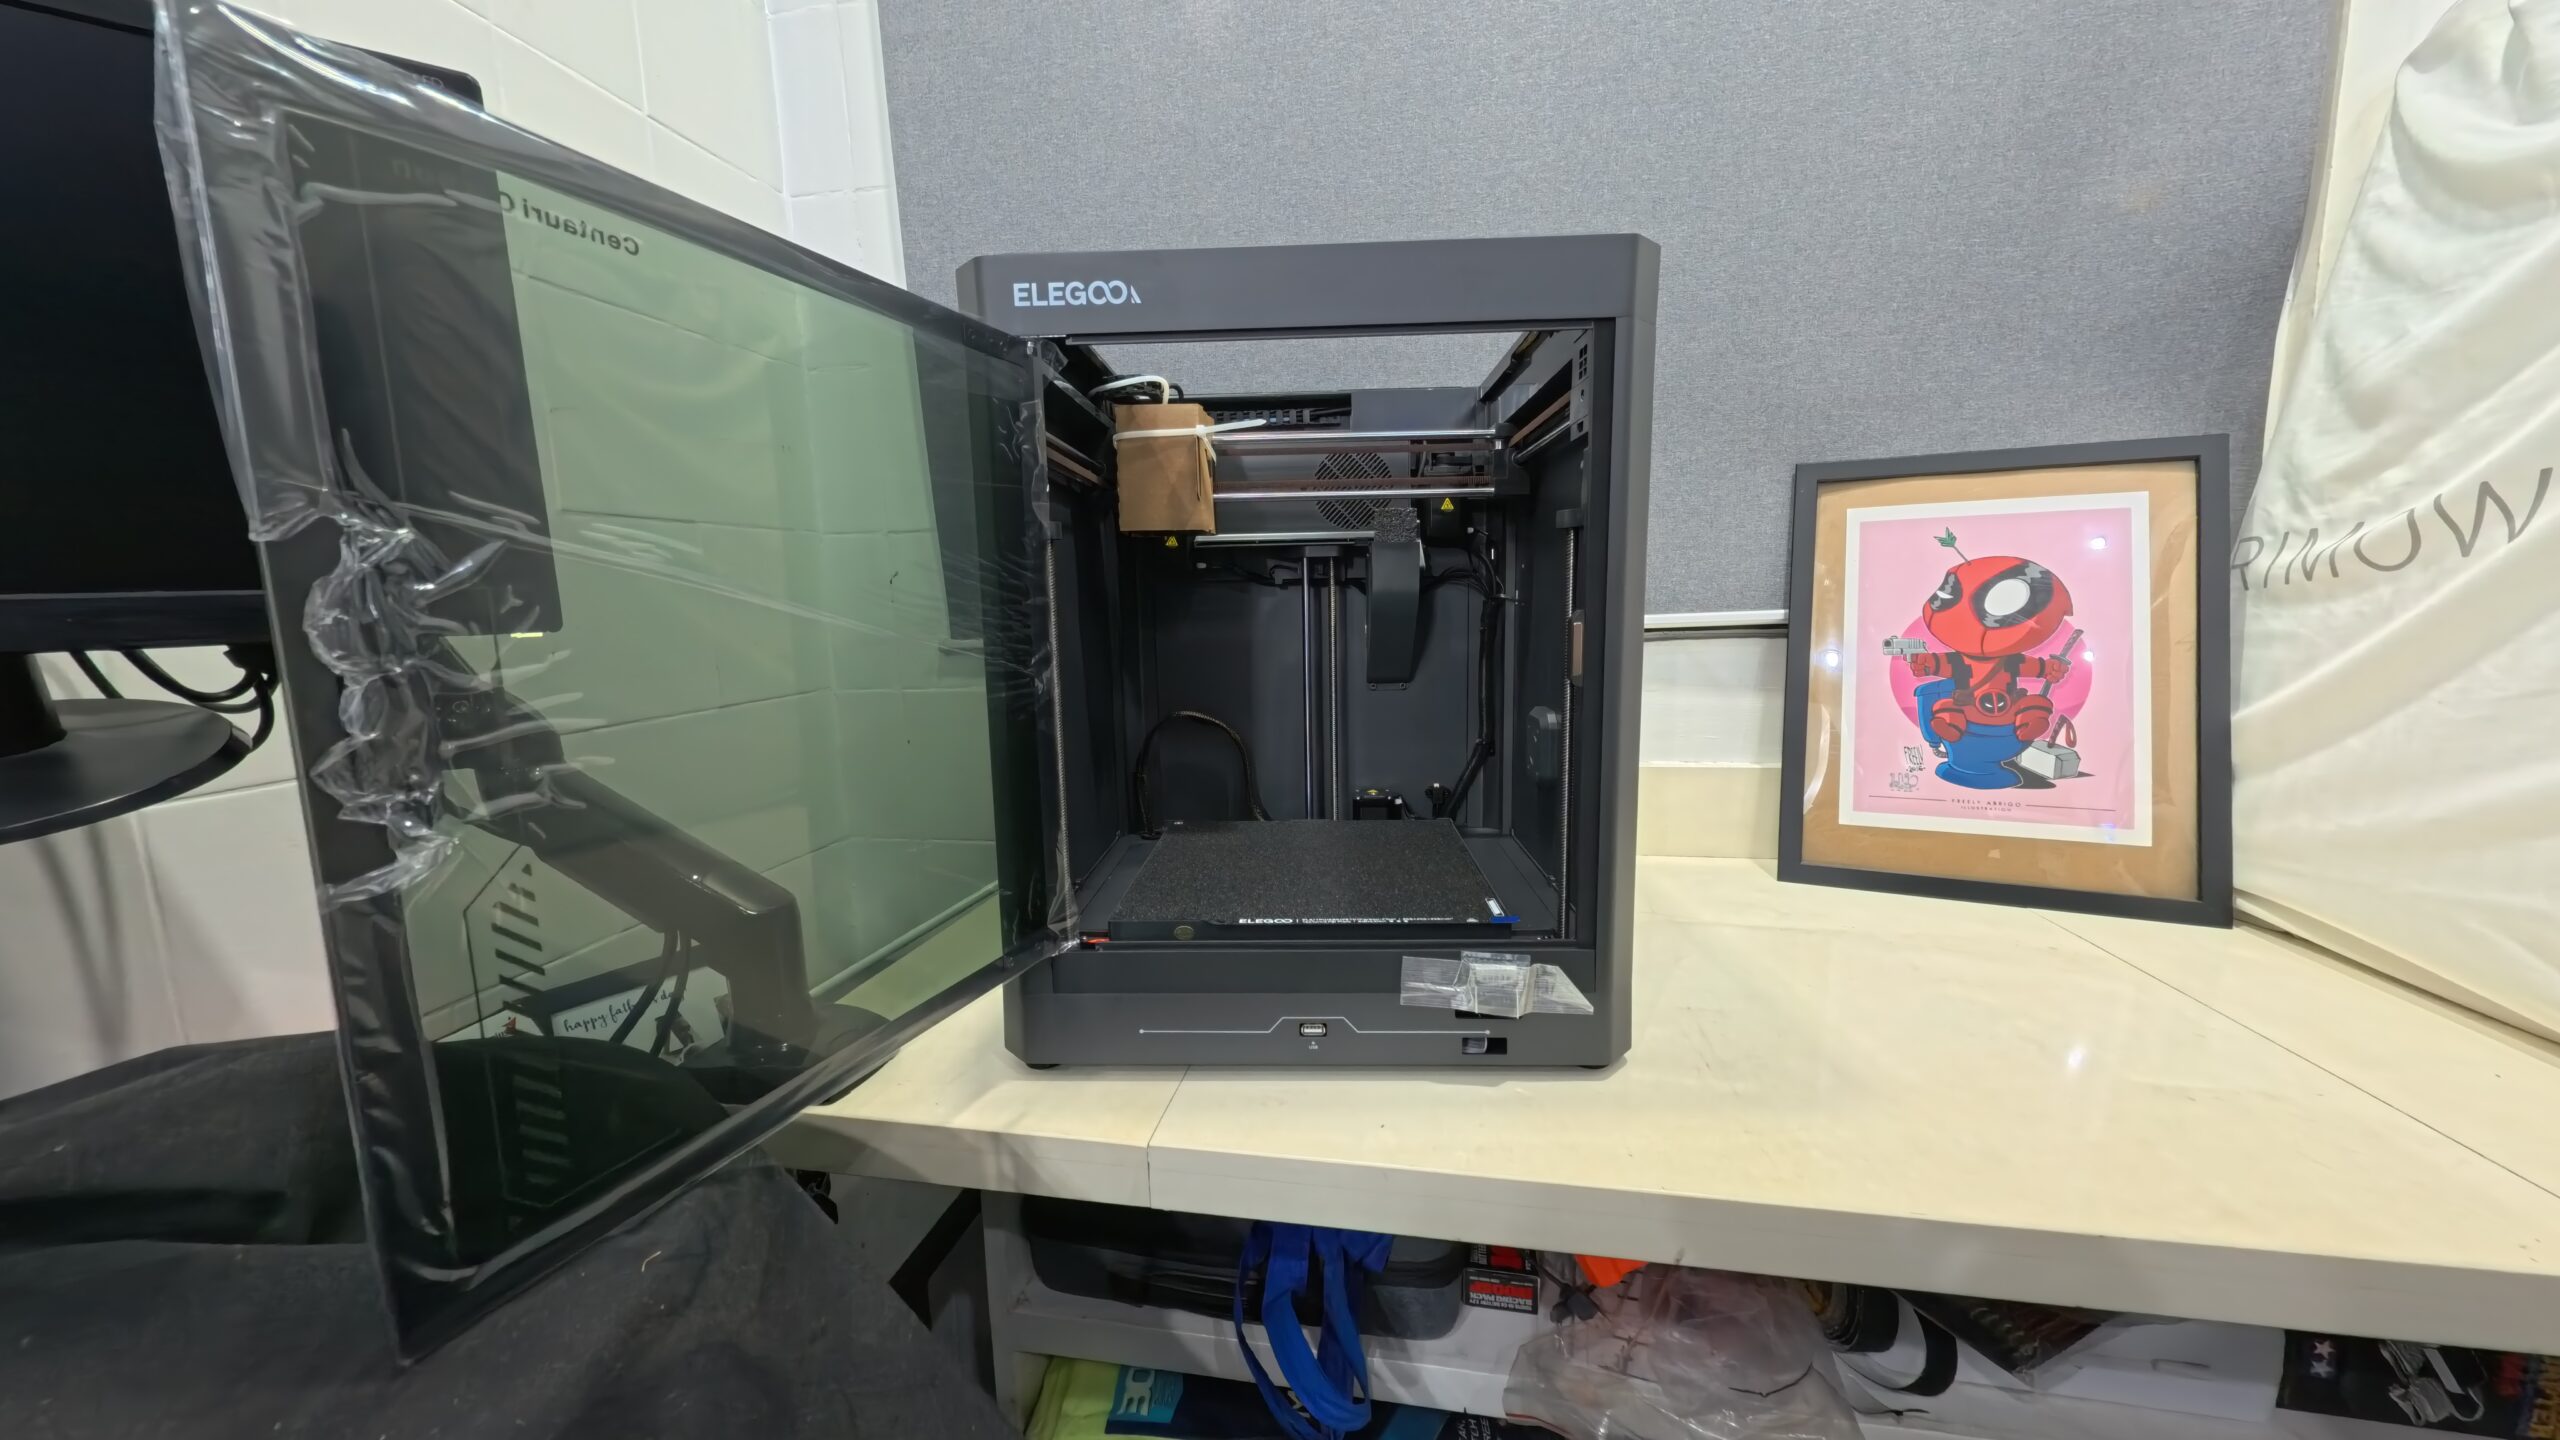
Once we remove all the plastics and screws now the only thing to do is connect cables and snap in the touch screen. Really simple stuff.
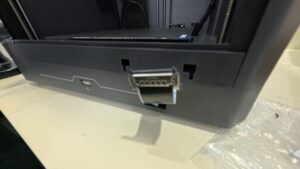
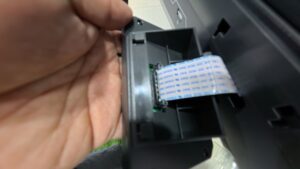
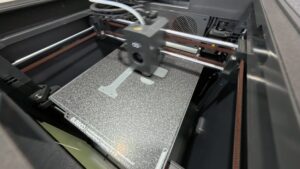
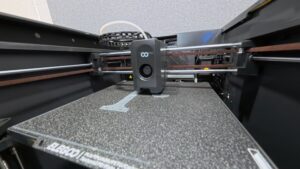
Once the screen is in place and double checking that I’ve removed all the other screws and inserted the power cable properly it’s time to boot it up for the first time.

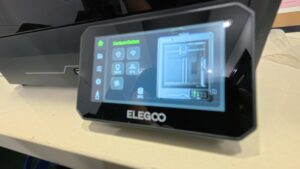
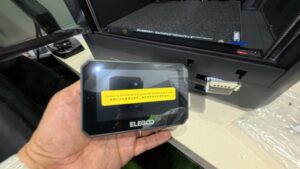
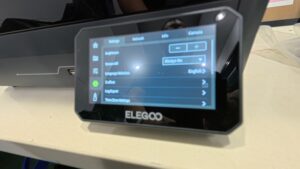
Yes, I know these are really blurry photos. Kind of hard to focus the camera with all the glare coming from this shiny new 3D Printer. Anyways, all I had to to was connect it to the wifi and update it’s firmware.
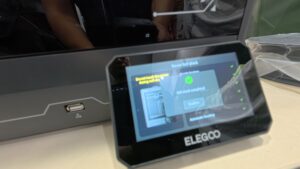

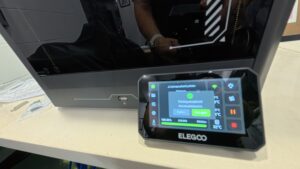
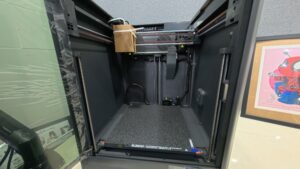
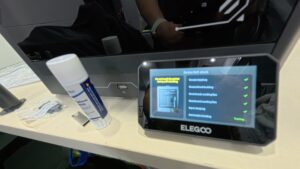
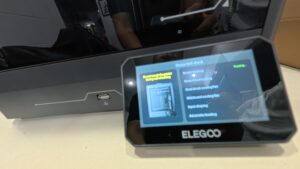
After all that, I just did the built in calibration and bed leveling. Really simple stuff, gone are the days of manual bed leveling where you had to fiddle with a piece of paper that had to be the exact thickness or else your prints wood look really wonky.

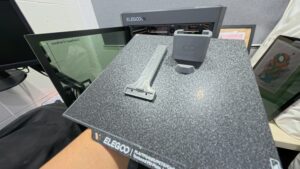
I have to say that 3D Printers have gone a long way since I started. A couple years back when people said they assembled a 3D printer that actually means they assembled a 3D printer. Like actual screws and figuring out where multiple parts went. Now with the Elegoo Centauri Carbon, all I had to do was remove a couple of protective sheets of plastic and some screws. Press a couple of on screen calibration tests that handles bed leveling and we’re good to go. I’m really excited to work on a couple of projects with this machine and I’d probably be sharing most of them on this blog. So if you’re into this sort of thing check back once in a while.
More info on the Elegoo Centauri Carbon.


Leave a Reply